How to iron a shirt like a pro in 7 steps: A step-by-step guide
Wearing crisp and crease-free clothing helps boost our confidence, leaves good first impressions and even builds trust with customers, business associates and potential dates.

If you’re a tailor, seasoned homemaker, or work in a laundromat, you probably know the tricks of pressing a shirt and can easily achieve a wrinkle-free shirt in a few minutes. For the rest of us, here is a step-by-step guide to show you a simple method of ironing crisp shirts and key things to note to achieve that professional finish.
The method we share can be used for conventional irons, steam irons and steam generator irons.
However, Steam generator irons, with their Smart features and high-pressured powerful steam output, get the job done in half the time with impeccable results compared to their counterparts.
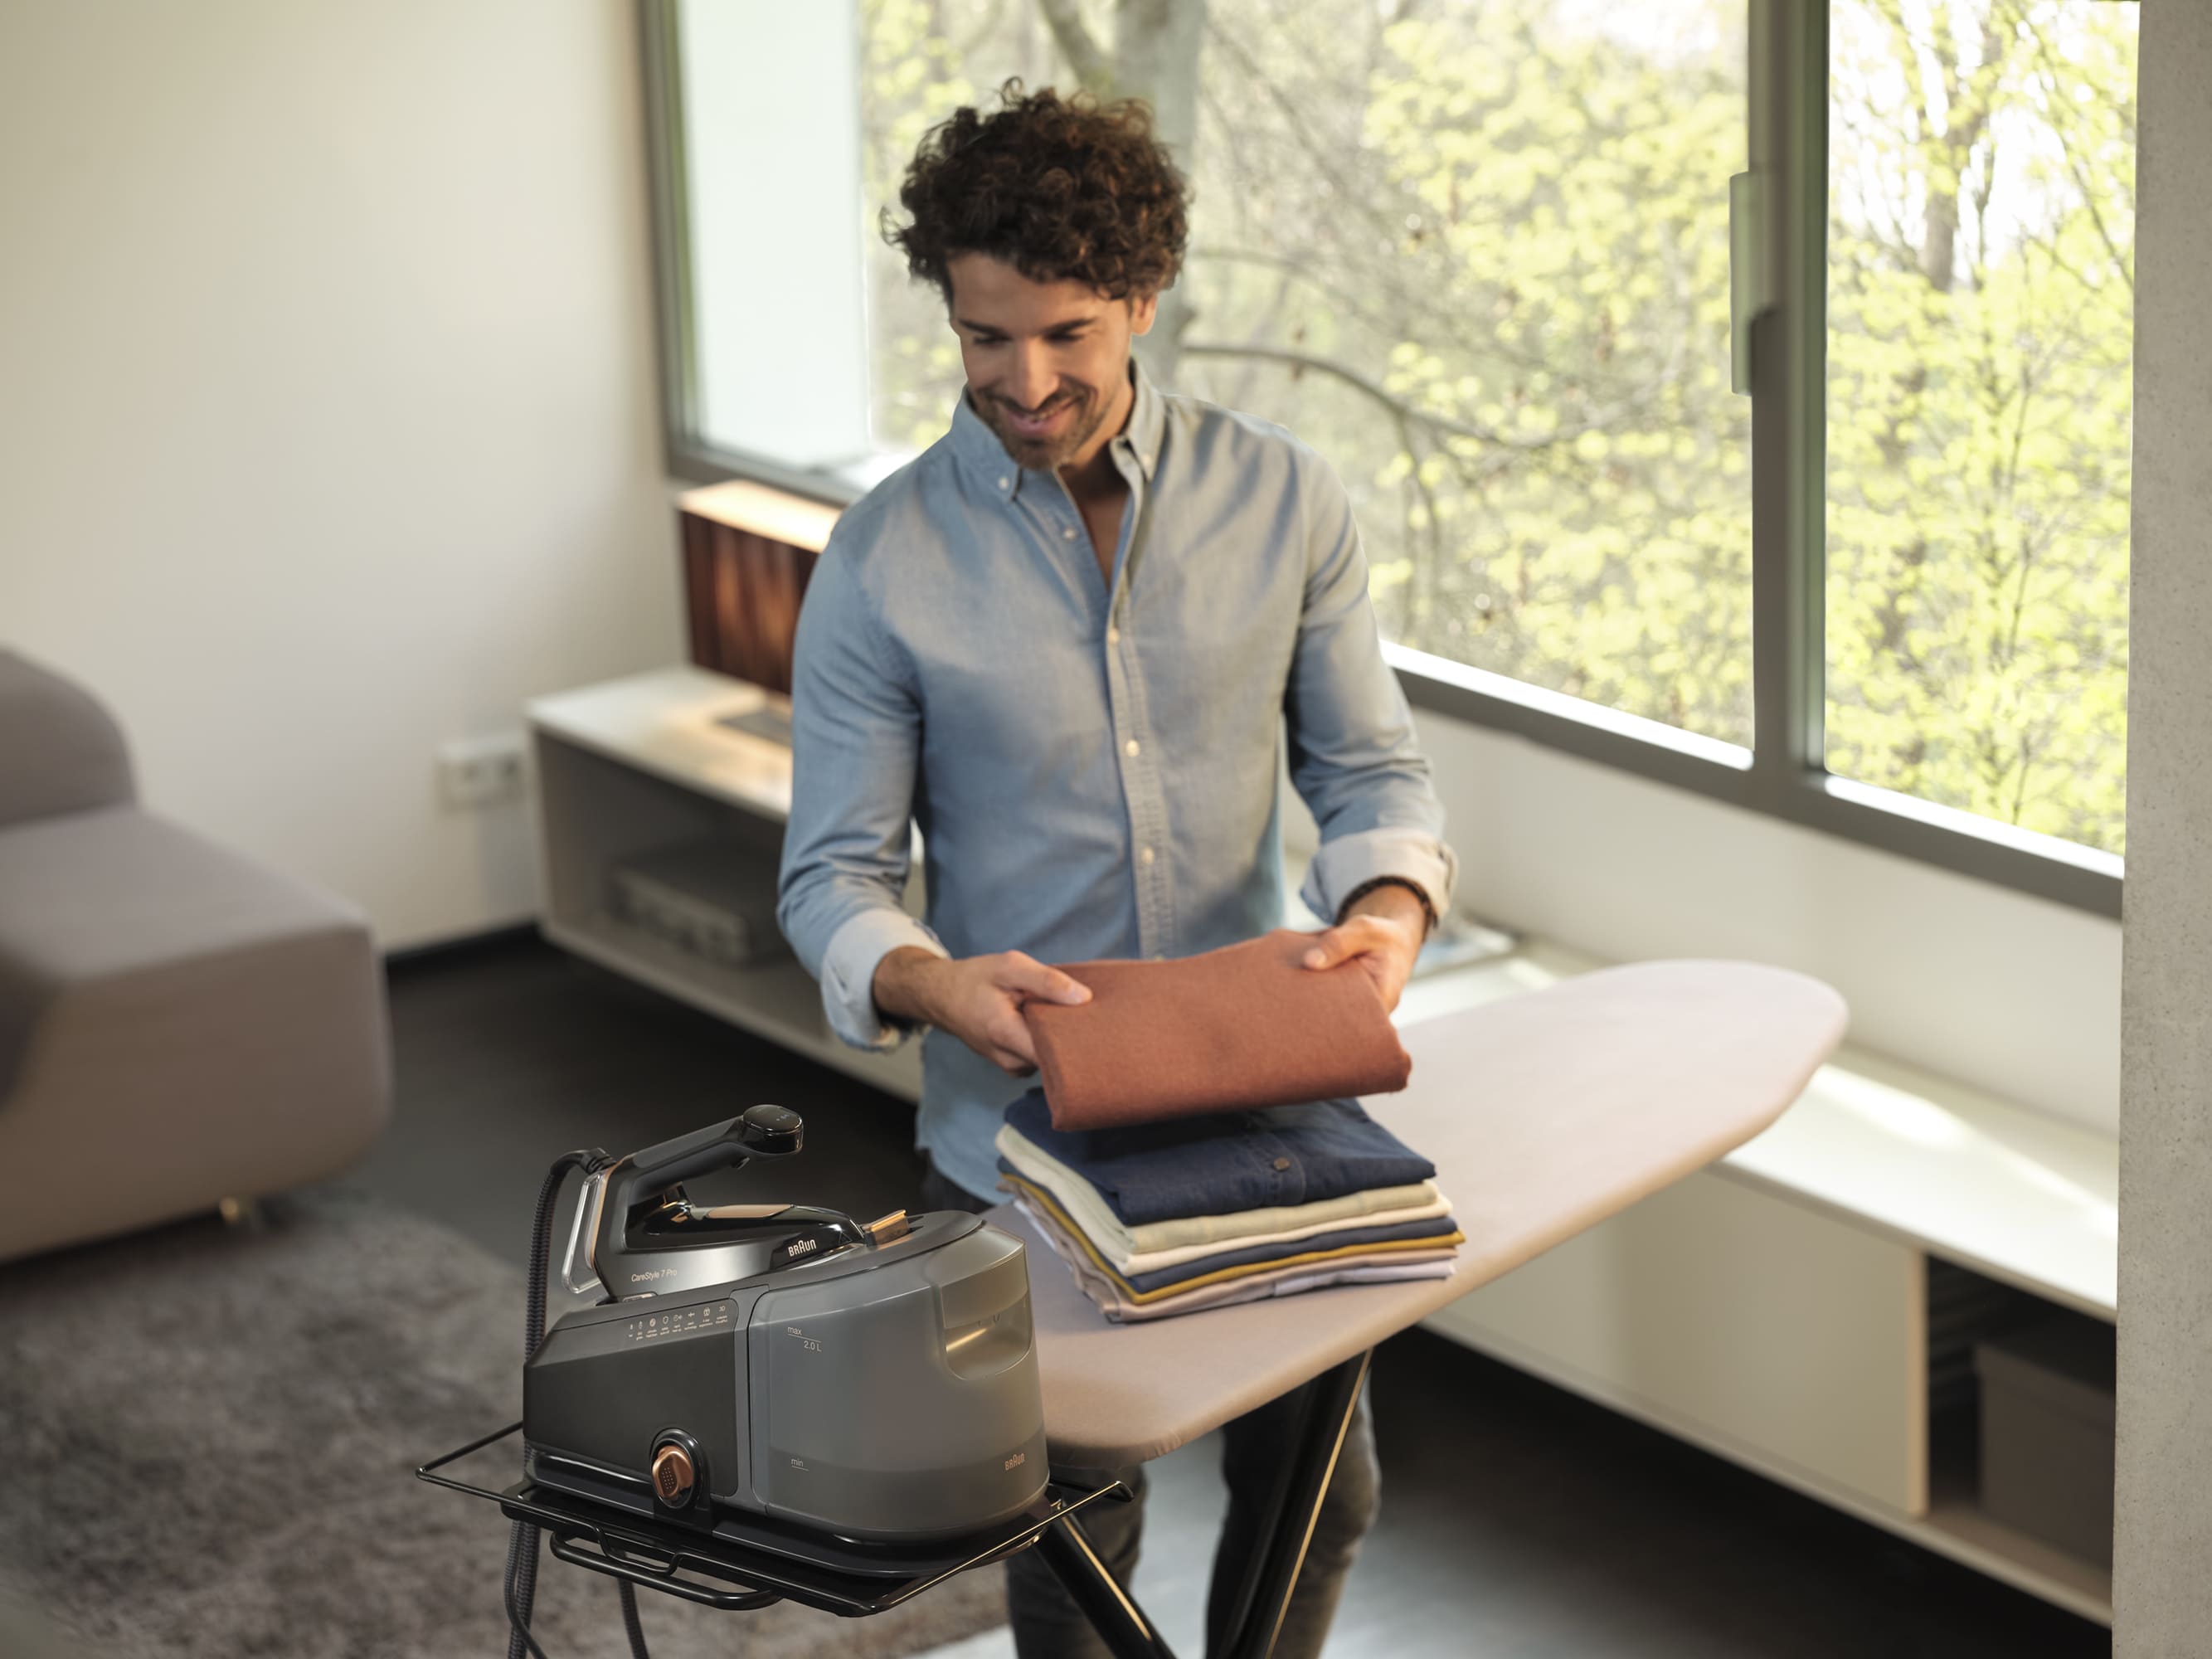
Braun’s Steam generator iron range has an excellent continual steam output up to 125g/min and a power shot of steam up to 500g/min to make ironing a shirt even easier and faster by removing creases effortlessly.
First things first – Setting up your ironing station
As with most things, setting yourself up for success requires laying the groundwork, when the foundation is strong, the chance of success increases. The same goes for ironing like a pro.

Invest in a good ironing board, a size suitable for most of the garments and linen you expect to iron. Go for something sturdy that can take the weight of your iron and pressure as you iron and has enough space to rest the iron.
Must-haves & Must-dos to help you iron crisp & neat shirts
1) Hangers - so your freshly pressed shirt goes straight from board to hanger for best crease-free results. While the fabric is warm, it’s prone to creases so hanging up the shirt immediately helps to keep it smooth.

2) Spray bottle – Steam irons come with a spray nozzle, however, using the spray bottle gives you a gentler mist and covers a wider area of your shirt. You’d like your shirt to be slightly damp for easier removal of creases.

You can skip the spray bottle with a Steam generator iron as the amount of steam dispelled will be sufficient to soften the fibres and smooth both sides of the fabric in one go.
3) Check that your iron soleplate is clean – Remove any marks on the soleplate and clean the steam holes before ironing to avoid unsightly stains and white mineral deposits on your shirt.

4) Check the care label of the shirt - Follow the care instructions to know the appropriate iron setting for the shirt. If you have a batch of shirts to iron, sort them according to their fabric types. Begin ironing shirts with materials requiring the lowest temperature to a higher temperature so no time is wasted waiting for the iron to heat up or cool down.

Did you know that you can skip sorting according to fabrics with a Steam generator iron, as they have smart modes that will protect your garments regardless of fabric type so it doesn’t matter in which order you iron your shirts?
Discover the Braun Steam generator iron's 3 smart modes:
![]()
- Smart iCare mode to ensure the highest care for every fabric
![]()
- Eco Mode to reduce energy consumption while ironing delicate fabrics
![]()
- Turbo Mode for the toughest jobs like thick fabrics, resistant creases and hard-to-reach areas. Removes up to 99.9% of bacteria from fabrics
A Step-by-step Guide to ironing shirts like a pro in 7 steps
Now that you are all set, follow the step-by-step guide below to start ironing your shirt like a pro in 7 steps.
Step 1– Begin with the Back of the Collar
Start with the smaller parts of the shirt first like the collar and cuffs. Start from the underside of the collar. Lay the collar flat on the board and press from the outside towards the middle, do the same starting from the other end of the collar.

Flip the collar to the front and repeat the same steps for a wrinkle-free collar
Braun’s Steam generator iron has steam holes all along the sole plate including the top of the pointed end, making it easy to get into hard-to-reach corners and remove creases along stitched seams.
Tips:
Avoid ironing from the centre of the collar out and in one long stroke as it creates wrinkles.
Step 2 – Continue to the Cuffs
Place the sleeve on the board, open the cuff out and iron the inside first to remove any creases or folds. Iron from the outside in. Flip it over the other side and iron out any creases the same way.

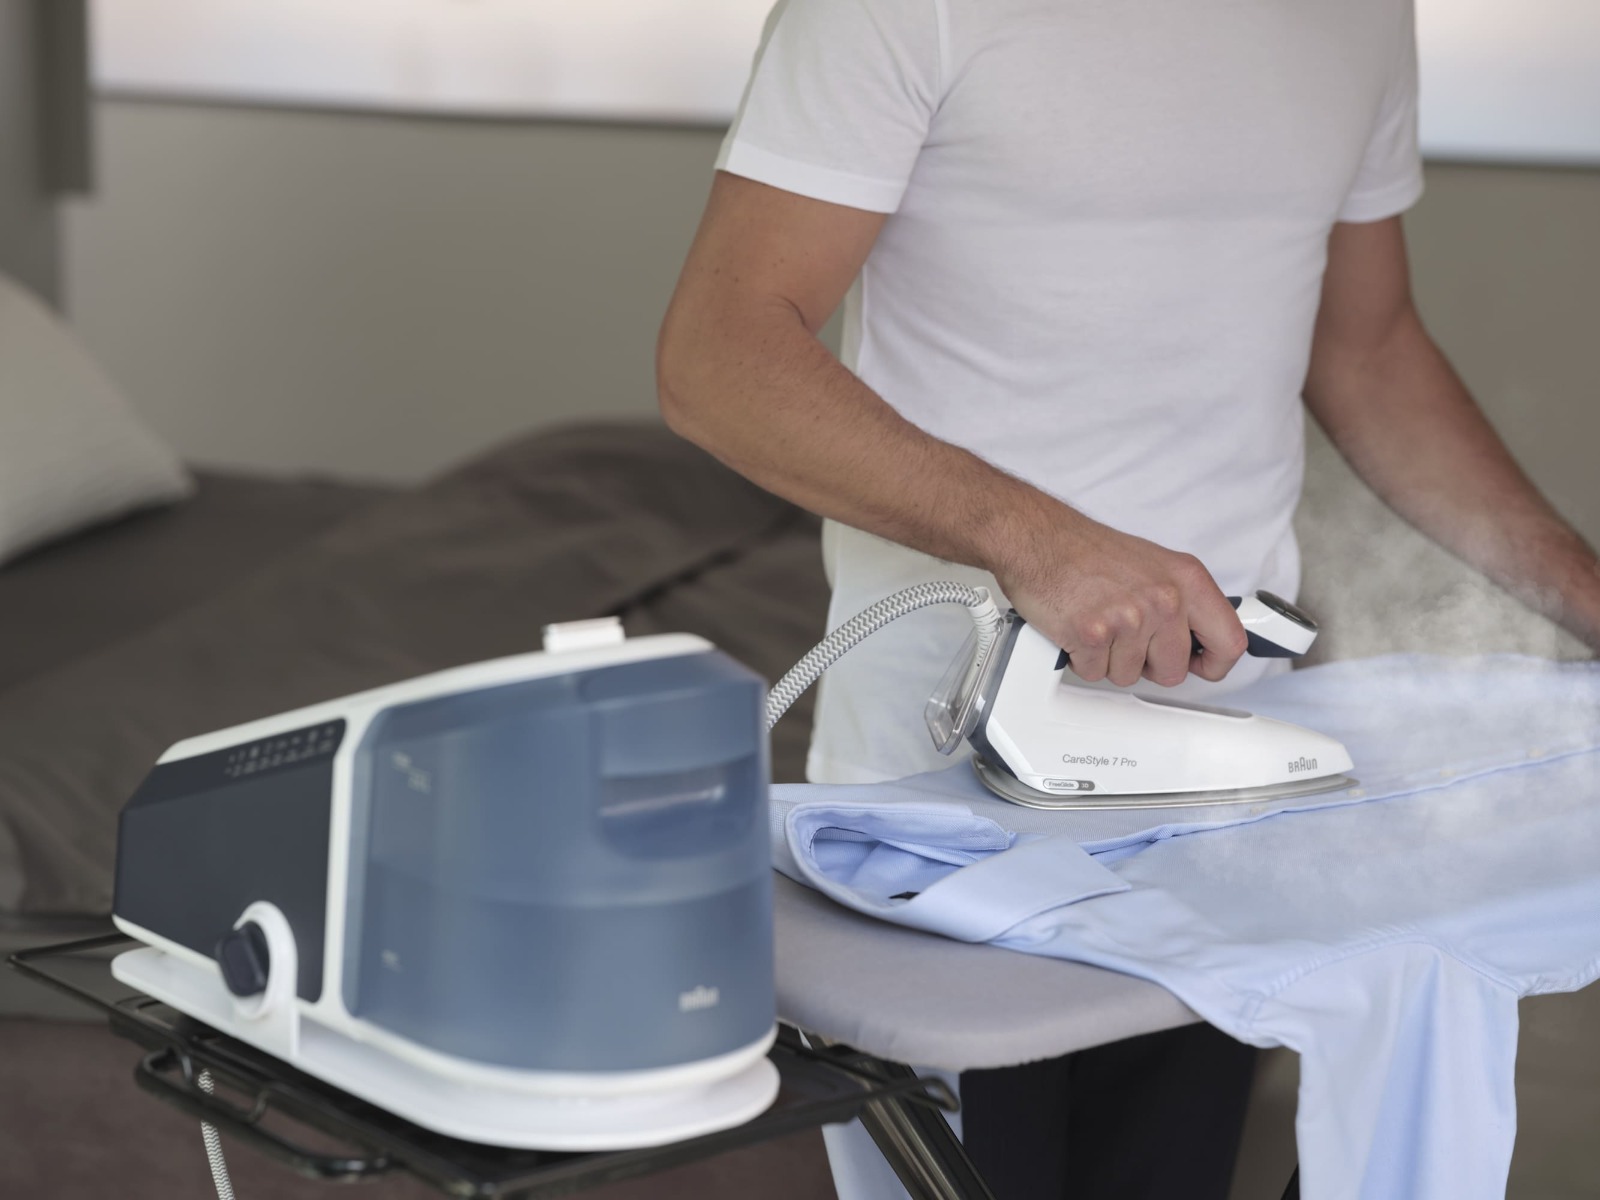
You will find the pointed end of the CareStyle 7 Steam generator iron ergonomic in ironing the small cuff area and the powerful steam shot efficient in removing creases along the cuff, especially in a dress/formal shirt which has a thicker cuff.
Step 3 – Move on to the Sleeves
Lay the sleeves flat on the ironing board, adjusting it so the layers stack nicely on top of one another, this way you can iron both sides of the sleeve simultaneously. It’s good to have a system here, start from the armhole seam of the sleeve and iron down the middle of the sleeve.

Most conventional irons would require ironing the sleeve a few times to smooth it, but with the Carestyle Compact and Carestyle 7, the strong steam output permeates the layers at the same time and removes creases in one stroke.
If you like a fold on your sleeve, you can press down hard on the edge of the sleeve with the iron or use a clapper for a pronounced line. Otherwise, just flip over to remove any creases if any.
Tip:
Using a sleeve board here also helps to iron every side of the sleeve without creating any new wrinkles.
Step 4 – Slide to the Shoulders (yoke)
Start with one side of the yoke fitting it over the slimmer end of the ironing board, while pressing it to avoid creating any wrinkles on the back of the shirt. Rotate the yoke and press the middle part, then to the other side until the entire yoke is crease-free.

Use the spray bottle to gently moisten the yoke if it's very creased before ironing, it helps to loosen the fibres and removes creases faster. Did you know that a steam generator iron emits enough steam to smooth the yoke in one press? Learn more here.
Step 5 – Back down to the Back
Ironing shirts with pleats can be tricky, start with ironing the underside of the pleats first before ironing the back part. Then iron the body of the shirt by starting near the arm hole, press it till it's straight, rotate the shirt and press until the whole back part is crease-free.

Braun’s Steam generator irons come with EloxalPlus soleplate, ensuring even heat distribution and no dragging of the fabric as you iron. You will hardly need to exert force with our lightweight iron that glides over your shirts to smooth creases for that perfect finish. Smoother ironing for a smoother shirt.
Step 6 – Finish at the Front
People usually spend more time ironing the front as it's the part of the shirt that is the most visible.

First, iron the placket which is where the buttons and buttonholes sit. Start ironing from the underside of the placket to iron in one smooth stroke over the buttons. Flip it to the front and iron between the buttons to remove the creases with the pointed end of the iron.
Pockets - If the shirt has pockets, this is where it requires a bit of work. Iron the pocket separately, using the tip of the iron to help you press and smooth the edges of the pockets.

To make ironing near buttons, pockets and other 3D details easier, Braun designed the FreeGlide 3D Technology with an upward sloping soleplate that allows 360 glideability. Glide the iron in any direction including backwards over buttons and zippers. Watch how this technology works in this video demonstrating the Carestyle Compact.
Step 7 – Hang the shirt up straightaway
Don’t wait to hang your shirt up. This is a crucial step in making sure your ironing effort doesn’t go to waste. When the shirt is still warm and slightly moist from steam, new creases can form on your shirt and that’s the last thing you want after all that effort.

If you're a perfectionist and want an impeccably pressed shirt, you could steam the shirt once more with our Steam generator irons before wearing it. Hang the shirt up and hold the iron vertically when steaming.
Conclusion
Ironing shirts like a pro doesn't have to be hard or costly (if you're the type who gets your shirts laundered professionally), simply follow our step-by-step guide not forgetting to set up your ironing station beforehand for a smoother ironing experience.
If you're using a conventional iron, you may need some practice before it takes a few minutes to achieve a professionally pressed shirt. As its capabilities are not as powerful as a steam generator iron, it will take more time and effort to press the shirt till crisp.
If you are a busy person who wants crease-free ironed shirts fast without any hassle, a steam generator iron like the Carestyle 7 and Carestyle Compact will help you iron like a pro - Efficient and delivering superior results.
Whatever the type of shirt, casual, dressy or formal, and regardless of the fabric, our Carestyle Steam generator irons are able to smooth them while protecting the material, keeping your shirts looking new for longer.
Discover the full range of features, technology and ergonomic designs of our steam generator irons here.